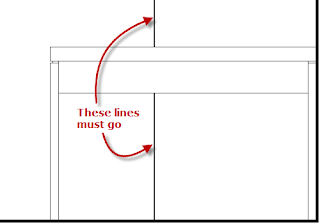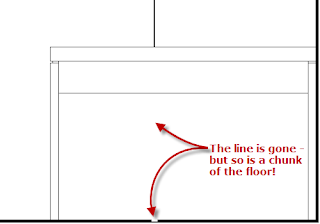
Masking Regions to the rescue! The problem we had with the Masking Regions was that the items to be masked almost always intersected or abutted linework that we wanted to keep. The boundary lines for Masking Regions default to invisible lines, which makes sense, but, unfortunately, if you place the boundary at the linework you want to keep, the mask extends to the midpoint of that linework. This is particularly noticeable on linework with a heavy lineweight, but is true for all linework.

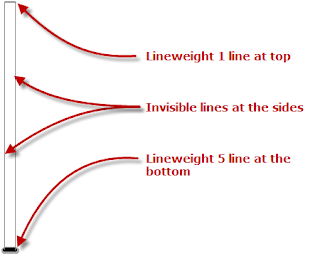
The initial solution was to grip edit the Masking Region and pull it back slightly, to avoid losing desired graphics. This was tedious, and, when done poorly, either left a (smaller) divot in the linework to remain, or left a small part of the line to be masked protruding. While my efforts during construction documents were mostly focused in other areas, I have had to make revisions during construction, and found this process to be very unsatisfactory, until I realized that the boundary lines do not have to be invisible, nor do they all have to be the same.
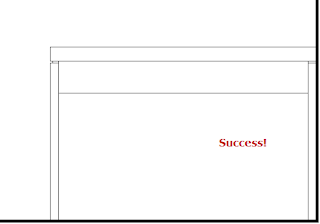
 By matching the Line Style of the boundary lines to that of the linework for segments that align with linework to remain, the Masking Region fully hides the unwanted linework without removing a piece of the linework that is to remain.